These creations are one of a kind and designed by the best “Creator” I know.
I am so thankful I get to spend my days with them!

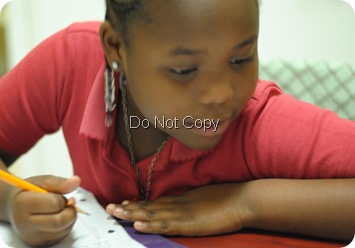
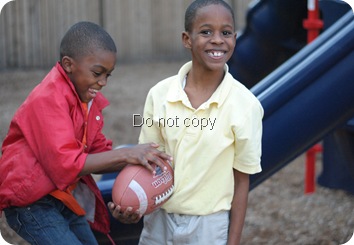


this to photograph!

These creations are one of a kind and designed by the best “Creator” I know.
I am so thankful I get to spend my days with them!
This is a different take on my previous fabric art.

For this I used Steam-a-Seam to adhere the monogram onto the base fabric. Then I stitched around each letter with a black zig-zag stitch to help it stand out a little.
I just printed out the monogram and then traced it onto the steam a seam backing backwards. I am sure there is a more exact way to do this, but I have never been one for exactness.
This was actually a gift for a dear friend of mine who got engaged this weekend. It was waiting for them when they arrived at the “just engaged” party!
Her new last initial and there first initials. The maroon and white colors are a nod to Texas A&M! A school near and dear to both of them (and me)!

Congratulations Mark and Dean-na! I am so excited for you guys!


This weekend I helped in putting together a fundraiser of sorts for a Baby orphanage I visited while in Kenya last summer. The lady who started the orphanage was actually a member of my church, but she moved to Kenya about 5 years ago. Not only does she run this orphanage, she also has a ministry to the local hospitals, and some single mothers. You can learn more about her ministry here.
The single mother ministry is what we were focusing on this Saturday. To support themselves and their families, the women are taught how to knit and sew. Trena works with the mothers to advertise their products and since she has been in the states, she is trying to sell as much merchandise as possible for them! That’s what Saturday was about. Come, eat and buy!
The fabric that was chosen was hot pink zebra stripes and a little bit of hot pink and green floral. I wanted to match the fabric, but not be overly matchy-matchy either!
These were actually really easy to make and cost a total of $17 for 3 stands. The way they were put together allows for them to be taken apart for storage and could be repainted to match any event.
Here is what I did:
1. Buy 3 wooden plaques- Hobby Lobby
2. Spray paint them white
3. Buy 3 candle sticks of various heights (I already had 2 I found at goodwill) the other was from HOB LOB
4. Spray paint them whatever color your heart desires!
5. After the tops were dry, I wanted to make them a little more festive. I grabbed some fun scrapbook paper – in zebra print and houndstooth, and modge podged them to the tops. 2 coats of m.p was all it took.


To put the stands together, I first drilled a small hole in the tops and the sticks. That way when I screwed them together, the wood wouldn't split.
7. At first, I was just going to leave it, but they were a little top heavy, so I also added a small base to each stand. That made them a lot more sturdy. I had these 3 pieces of wood already so that was nice. But you can buy them at Hobby Lobby also if needed.
I think they turned our pretty cute!


In case you are wondering, those are miniature bundt cakes from "Nothing Bundt Cakes"! If you have a store close to you, I highly recommend them- they are delicious!

Here is the whole table!
The event was great, we raised a lot of money and had a wonderful time hearing about what the Lord is doing in Nukuru through His Cherished Ones Ministry .

 * I link my projects to the following blogs whose links you can find on my side bar


